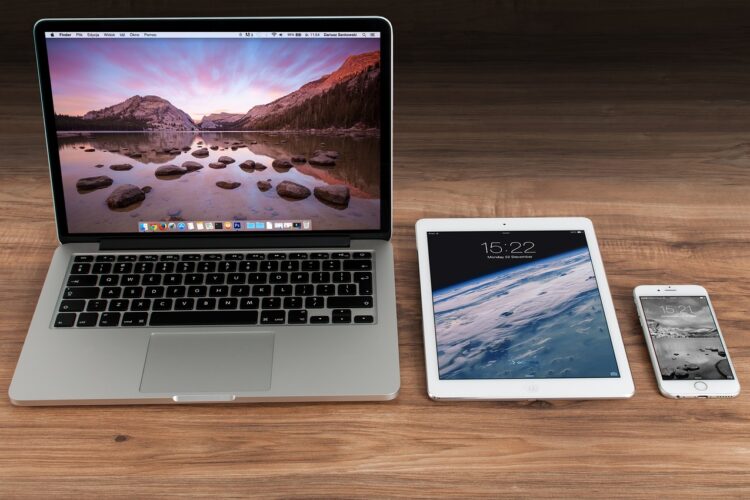
One of the best things about the Apple Ecosystem is that once you are in it, you can enjoy lots of continuity. This starts from nifty stuff, such as continuing a task on a different device, to sharing files. If you are looking to know more about the latter, we’ll take you through four simple ways you can share data and files between your iPhone and Mac.
AirDrop
You’ve probably already Googled things such as how to AirDrop photo album. This is the favorite sharing method in the Apple community as it allows users to share photos, videos, and documents without needing a physical connection. The technology works using the inbuilt functionalities of Wi-Fi and Bluetooth, so you will need to have both enabled. Don’t worry though, you won’t necessarily need to connect to a network or manually establish a Bluetooth connection.
To use AirDrop, just confirm that both are turned on. You can then proceed to the file that you want to share, select it, and click the sharing button. You should now see AirDrop as the first option before apps such as Messages. The device will then detect Apple devices near you and ask them to confirm once you select which one you want to share with. No confirmation will be needed if the other device also uses your Apple ID.
Use Your Data Cable
If the files you need to share are large, the good old direct connection is your bet. It’s faster and more reliable than the others. To use this method, you only need the cable you use to charge your phone and then your Mac. And since it’s a physical connection, you won’t need to care about the internet or Apple ID.
Once you connect your phone to your Mac, you will get a prompt that requires you to enter a password if you’ve set one (or simply unlock your iPhone). Next, the iPhone will ask if you want to trust the Mac with your files. When you click “Trust,” the two will connect. From there, go to Finder, and you will see the phone on the sidebar. Click on it then navigate to the location where you’ve stored your files. A simple drag and drop will do the trick for you.
Utilize iCloud
Apple gives you iCloud space when you create an account. This space not only helps you store the files you don’t want to lose, but it also lets you sync data between your devices. If you want to share data with a different device, you only need to log in to the second device using your Apple ID.
If the data is not backed up, you can still transfer it, whether it’s on iPhone or Mac. On iPhone, you will need to move it to Files. You can then wait for it to finish uploading then go to Finder on Mac. You should find the files when you click the iCloud option on the sidebar.
To move a file from Mac to iPhone, drag and drop the file to iCloud, then access it via Files on iPhone. However, note that the amount of space that iCloud offers for free may be too small (5 GB) for transferring files, so you may need to upgrade.
Use Third-Party Apps
Besides the default functionalities provided by Apple, you can also use third-party apps to transfer data. A good example of this is relying on popular cloud providers such as Dropbox and Google Drive. All these offer free plans, so it shouldn’t cost you to check them out.
To get started, install the apps on both your iPhone and Mac. From there, you can transfer files from one device to the cloud app, and it will automatically sync to the other device. You only need to make sure you have signed in to the same account for simplicity, but you can also share it with a different user.
Ellen Hollington is a freelance writer who offers to ghostwrite, copywriting, and blogging services. She works closely with B2C and B2B businesses providing digital marketing content that gains social media attention and increases their search engine visibility.

