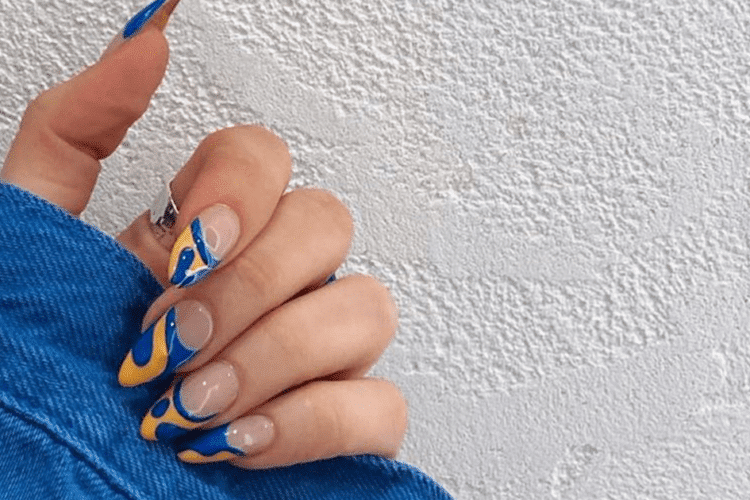
Are you tired of dull, brittle nails that chip easily? Do you dream of having glamorous, salon-worthy nails but don’t want to spend a fortune on professional nail treatments? Look no further! Nail kits like the Kiss complete salon acrylic kit are here to revolutionise your nail game and help you achieve flawless, long-lasting nails right at home. Whether you’re a beginner or an experienced nail enthusiast, these kits provide everything you need to embark on a journey from novice to pro.
The following section of the blog post will explore the world of acrylic nail kits and guide you through the steps to achieve nail perfection.
Choosing the Right Nail Kit:
With a plethora of options available in the market, it’s essential to choose the right acrylic nail kit that suits your needs and skill level. Look for kits that provide a comprehensive range of tools and materials, including acrylic powders, liquid monomers, nail tips, brushes, files, and topcoats. Additionally, consider the products’ quality and opt for beginner-friendly kits, offering step-by-step instructions and tutorials.
Prepping Your Natural Nails:
Before applying acrylic nails, it’s crucial to prepare your natural nails properly. Start by gently pushing back your cuticles and shaping your nails with a file. Next, remove any oils or residue from your nails using a nail dehydrator or alcohol-based cleanser. This step ensures better adhesion and longevity of your acrylic nails.
Applying the Acrylic Nails:
Once your natural nails are prepped, it’s time to apply the acrylic nails. Begin by selecting the appropriate nail tips that match the size and shape of your natural nails. Apply a small amount of nail glue to the tip and press it firmly onto your natural nail, ensuring a secure fit. Dip a brush into the liquid monomer and then into the acrylic powder to create a ball of acrylic. Place the acrylic ball onto the nail near the cuticle and gently press and shape it to cover the entire nail surface. Repeat this process for each nail, working quickly but efficiently to prevent the acrylic from drying before you’re done.
Shaping and Finishing:
You can shape and refine your nails once the acrylic has dried and hardened. Use a file to shape the acrylic nails to your desired length and style. Be gentle and file in one direction to avoid damaging the acrylic. Next, buff the nails to smooth out rough edges and create a flawless surface. Finally, apply a topcoat to seal and protect the acrylic nails, adding a glossy finish.
Maintenance and Removal:
To maintain your acrylic nails, it’s important to take proper care of them. Avoid using your nails as tools, and protect them with gloves when doing household chores. Moisturise your cuticles and nails regularly to prevent dryness and breakage. When it’s time to remove the acrylic nails, soak them in acetone for about 15-20 minutes until the acrylic becomes soft, then gently remove the softened acrylic with a wooden cuticle pusher, taking care not to scrape your natural nails.
Conclusion:
Nail kits like the kiss complete salon acrylic kit have undoubtedly made it easier than ever to achieve stunning, salon-worthy nails at home. With the right tools, materials, and a little practice, you can go from being a novice to a pro in no time. Experiment with different colours, designs, and nail art to unleash your creativity and showcase your style. So, why wait? Grab an acrylic nail kit today and embark on a journey towards nail perfection.

